Letterpress Printing
Once we've designed something beautiful for you, the letterpress printing process begins.
|
The first step after designing the digital images is to turn that design into a film negative, which is then be used to burn photopolymer plates.
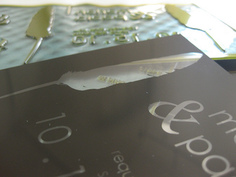
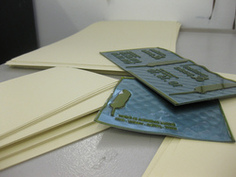
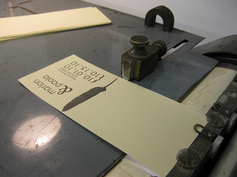
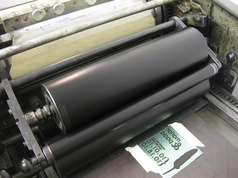
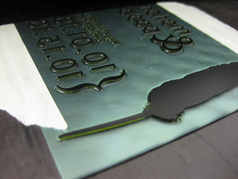
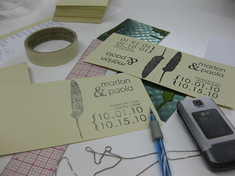
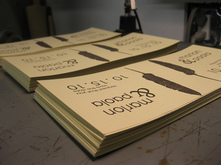
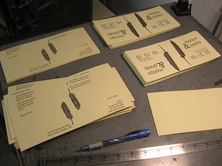
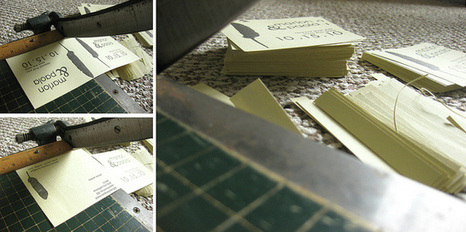
When the film is ready, the emulsion side is placed facing down on the photopolymer plate and is then burned with UV lights, creating a negative relief of the design. Photopolymer plate-making involves the initial exposure, a wash-out session which removes the unburned photopolymer, a drying session, and post-exposure which hardens the relief remaining on the plate. Once the plates are made, the next step is to cut the necessary amount of paper for printing. The border of the photopolymer plate is trimmed off to avoid printing it onto the paper. In the studio, the first step in the printing process is registration. This involves securing the plate in the correct spot on the press bed, and then adjusting the paper guides to correspond. Registration is the part of the process that takes longest. Once things are in place, the printing itself goes rather quickly. The photopolymer plates we use are metal-backed so that they stick to a magnet base which can be placed into the bed of the press. Still, we like to secure the plate in place with tape to avoid any slight sliding and shifting that may occur due to the pressure of the rollers. While we register the plate, we allow the ink to distribute itself onto the rollers. The more colors in the design, the more work is involved, because each color needs to be printed separately. A separate plate is required for each color, which means a separate press run is needed for each. Not to mention the time spent cleaning off the press and then starting over in a new color! After everything is prepared, the first printing step is to run some proofs through the press to check for pressure and registration. The packing on the cylinder of the press can be adjusted to fix low-pressure problems such as the light print shown on the image below. After a few hours of printing, we stack the prints neatly and admire them for awhile! Then, if the design has more colors or a reverse side, it is time to switch plates on the press bed, clean off the press and re-ink, and re-register. After all the printing has been completed, the last step toward the finished product is cutting and trimming. |


